Removing the Cause: Movement Tools
Master the three fundamental movement patterns — the squat, the lunge, and the anti-twist — to perform daily tasks without triggering pain.
The Foundation: The Abdominal Brace
Before learning any movement pattern, you must master the abdominal brace. This is NOT "sucking in your stomach" or "pulling your navel to your spine" — those myths actually destabilize the back.
How to brace correctly:
- Place your fingers into the oblique muscles (5-12 cm lateral of your navel)
- Don't suck in — gently stiffen the abdominal wall. Feel your fingers being pushed out
- Think of preparing for a punch to the midsection — but contract mildly
- "Tune" the brace like a dimmer switch: more stiffness for heavy lifts, less for walking or standing
The brace creates core stiffness that prevents painful micro-movements in spinal joints while freeing your hips and shoulders to move. It's the building block for every movement that follows.
Finding Pain-Free Postures
Lying Down
Lie face-down with hands flat under your chin. Take 20 seconds. If pain hasn't increased:
- Place a vertical fist under your chin (little finger on floor, thumb/forefinger cradling chin)
- If better, relax deeper with each exhale — let your low back sink toward the floor
- If still better, try stacking TWO fists under your chin
- Stay for up to 3 minutes, breathing deeply
Standing up: Don't flex the spine. Push up to hands and knees, then lunge up to standing.
If you feel better after this drill, you've found a pain-relieving posture. Repeat every few hours.
Sitting
The secret to pain-free sitting is combining two movements:
- Roll the pelvis slightly forward
- Lift the chest slightly
Most people do only one or the other. Use BOTH together to find the lowest-stress sitting position.
Soft couches are the enemy. Your spine requires a firm surface for proper support. That "comfortable" slouch into a bean bag triggers the same stretch reflex as pulling knees to chest — temporary relief followed by increased disc strain.
Use a lumbar support pad to maintain your corrected sitting posture. "Tune" the support level until your back muscles feel relaxed, not working.
Standing
Feel your low back muscles while standing. Are they tense or relaxed? The goal is relaxed.
The switch-point drill:
- Lean slightly backward until muscles shut off (feel soft)
- Slowly lean forward until they activate (feel hard)
- Find the position just before activation — this is your pain-free standing posture
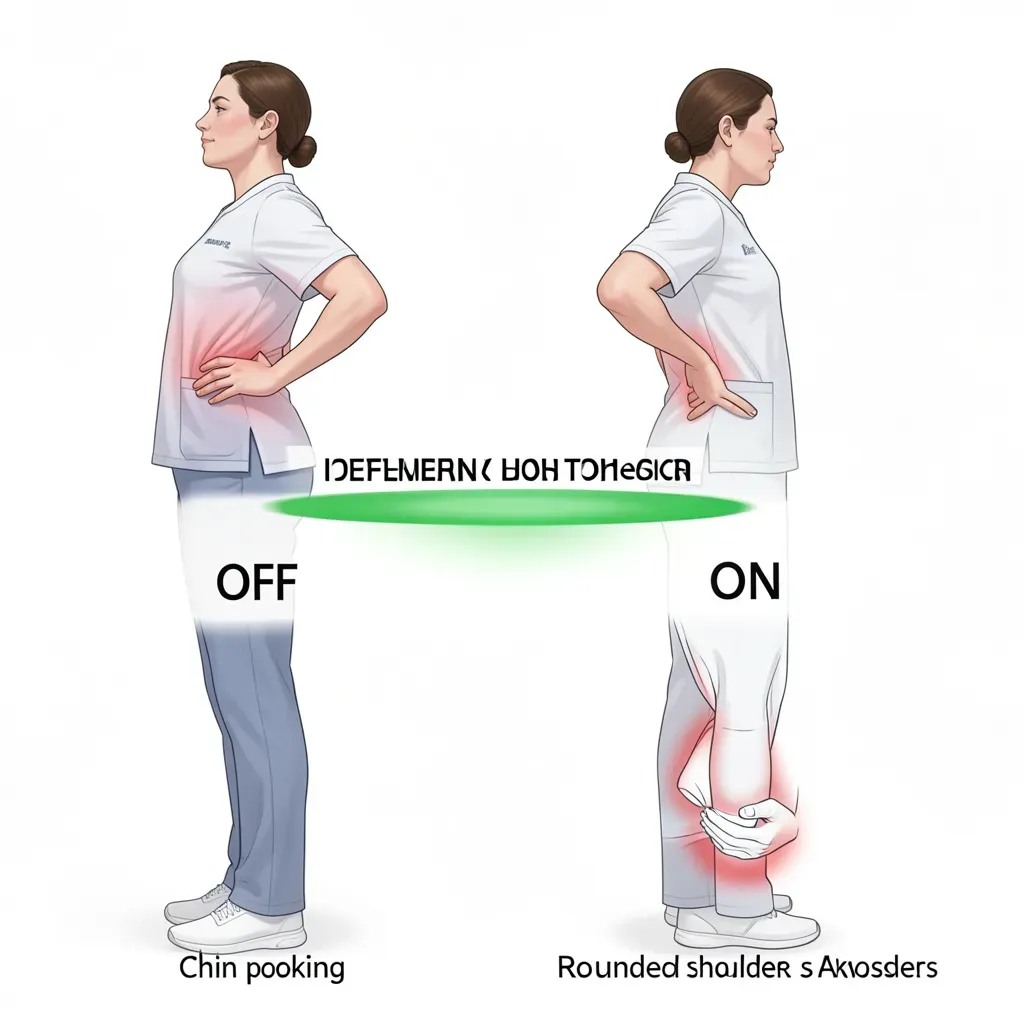
Common posture killers: chin poking forward, rounding shoulders, crossing arms (encourages shoulder rounding). Instead, keep arms at your side or clasp hands behind your back.
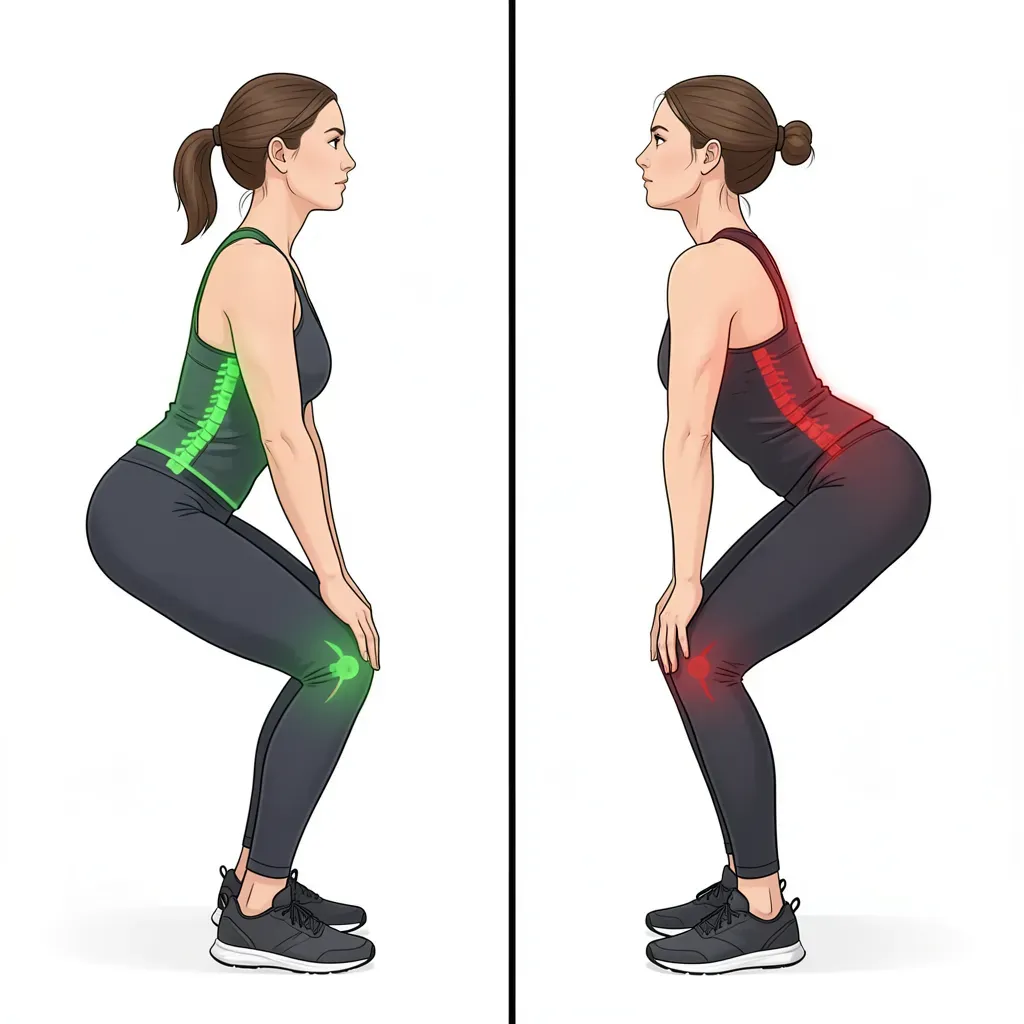
Tool 1: The Squat (Hip Hinge)
Nearly every daily task — sitting down, picking things up, getting out of a car — involves a squat. The key insight: move at the HIPS, not the spine.
The Shortstop Squat
- Stand with feet shoulder-width apart
- Place hands on thighs, thumbs and forefingers forming a V-shape
- Keep spine straight — bend at the hips, sliding hands down thighs
- Direct your pelvis BACK behind you (sit back, not down)
- Stop when your hands reach and cap your kneecaps — you're now in the "shortstop" position
- Knees should be mid-way between heels and toes (NOT ahead of toes)
To stand back up:
- Engage the abdominal brace (just enough, not too much)
- "Anti-shrug" — push shoulders DOWN using pectoral and lat muscles
- Focus on "pulling your hips forward" — NOT lifting with your back
- Motion occurs only at the hips
Mental cue: going DOWN = push hips back. Coming UP = pull hips forward. The back stays locked and stiff throughout.
Common Squat Flaws
- Knees moving ahead of toes
- Spine changing from neutral (slouching at the bottom)
- Thinking "lift with the back" instead of "pull hips forward"
- Stance too narrow — keep feet slightly wider than shoulder width
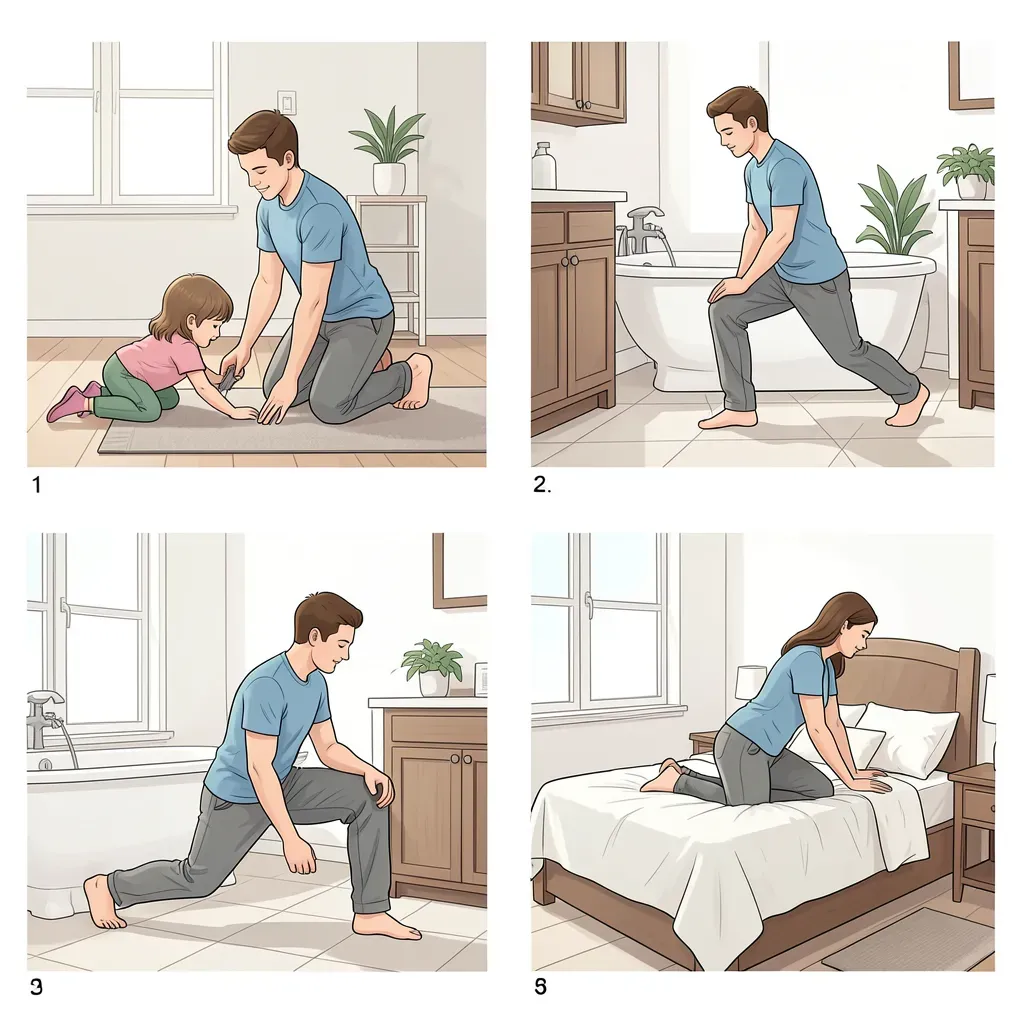
Tool 2: The Lunge
The lunge is your tool for getting to and from the floor without spine flexion. It's also how you'll get into bed, lower yourself to tie shoes, or reach low objects.
The Technique
- From standing, step one foot forward
- Lower your back knee toward the ground while keeping your torso upright
- Spine stays neutral throughout — all motion occurs at hips and knees
- To rise: push through the front foot, pull hips forward, maintain braced spine
Use it for:
- Getting down to the floor and back up
- Entering/exiting the bathtub
- Picking up objects below knee height
- Getting into and out of bed
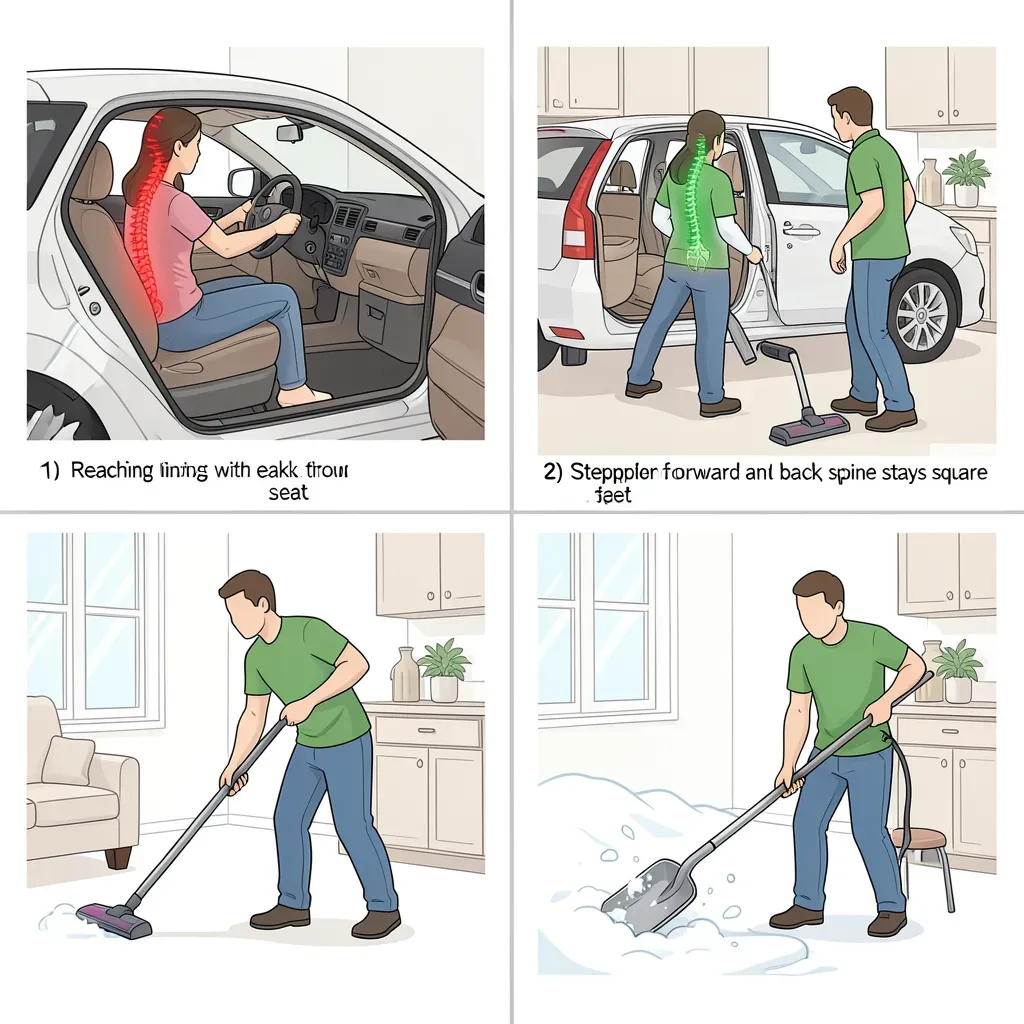
Tool 3: The Anti-Twist (Stop Twist)
Twisting under load is one of the most damaging movements for your spine. The "stop twist" tool transfers rotation away from the spine and into the feet and hips.
How to Stop Twist
When performing any task that might cause your spine to rotate (opening a door, reaching to the side, passing an object):
- Move your FEET to face the direction you need to reach
- Keep your torso and hips aligned — pivot on your feet, not your spine
- Maintain the abdominal brace throughout the rotation
Apply it to:
- Opening heavy doors
- Reaching into the back seat of a car
- Passing dishes across a counter
- Shoveling or raking
- Vacuuming
Twisting with a flexed spine is the single most destructive movement for a disc. If you combine bending forward with rotation under even moderate load, disc failure is almost guaranteed over time. Move your feet instead.
Making It Automatic
Practice enough that these three tools become default movement patterns. The goal: every time you bend, lower, or rotate, you unconsciously choose the spine-sparing version.
Over time, your range will increase. You'll squat deeper, lunge more smoothly, and stop-twist without thinking. Your back, leg, and hip strength will increase as a natural consequence of moving correctly through daily life.