The Complete Office Setup
Chair height, monitor distance, keyboard position, and movement protocols for desk workers who spend 6-10 hours seated daily.
Why the Office Is Where Most Damage Accumulates
The majority of people with back pain are not injured at the gym or on a weekend hike. They are injured — gradually and then suddenly — at a desk. Sustained sitting in poor alignment produces cumulative loading that exceeds what most physical activities deliver, simply because the exposure time is so long. Six hours of sitting with a flattened lumbar curve produces more total spinal load than a 45-minute strength session.
The goal of office ergonomics is not to make sitting comfortable. It is to reduce cumulative spinal load over hundreds of hours and create conditions where movement breaks are possible and effective.
Chair Setup: The Foundation
Everything downstream — monitor, keyboard, fatigue level — depends on getting the chair right first.
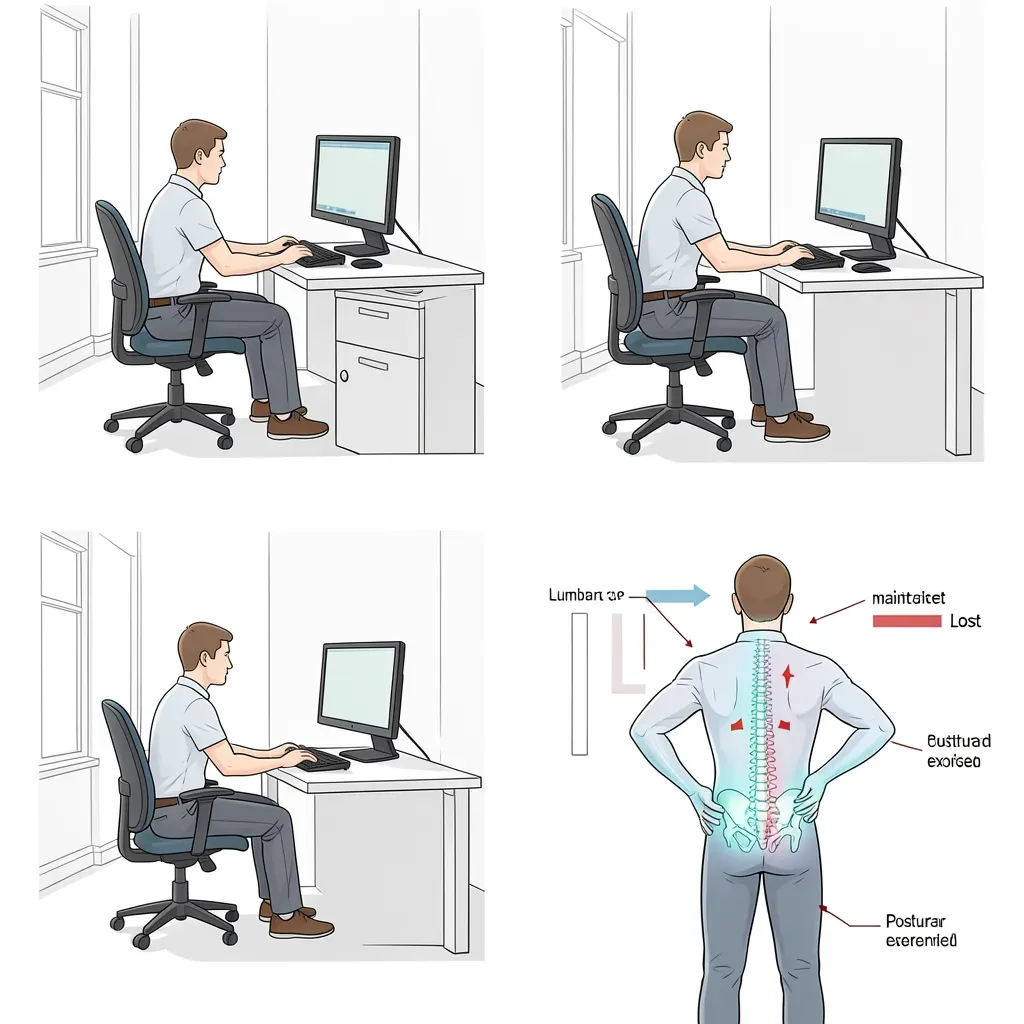
Seat height: Adjust so your feet are flat on the floor, knees at approximately 90°, and thighs parallel to the floor or very slightly declined. If your feet dangle, you lose the ground reaction force that stabilizes the pelvis, and the lumbar spine flattens. Use a footrest if your desk is fixed and you cannot lower the chair sufficiently.
Lumbar support: The lumbar support or a separate lumbar roll should sit at the apex of your lumbar curve — roughly at belt level. The common mistake is placing it too high, in the thoracic region, which pushes the upper back forward without supporting the lower back. Test by placing your hand behind your back: you should feel the support pressing lightly and evenly against the lordosis, not creating a kink at one vertebral level.
Seat depth: Leave 2-3 finger widths between the seat edge and the back of your knees. A seat that is too deep forces you to either press the edge into your legs (reducing circulation) or scoot forward and lose back support entirely.
Armrests: Adjust to support your forearms when shoulders are relaxed and elbows at approximately 90°. Armrests that are too high shrug your shoulders; too low and you lean to reach them, causing lateral spinal loading. Many people do better with armrests removed entirely if they cannot be set correctly.
Monitor and Screen Position
Height: The top of your monitor should be approximately at eye level. This keeps your neck in a neutral position — looking slightly downward at the center of the screen (about 15-20°) is biomechanically acceptable. Looking up at a screen produces sustained cervical extension and is almost always worse.
Distance: Approximately arm's length from your eyes. At this distance, most people can read standard text without leaning forward. If you find yourself leaning in, increase font size — do not move the screen closer, which shortens your natural sitting distance and collapses the thoracic posture.
Dual monitors: The primary monitor should be directly in front of you. A secondary monitor offset to one side creates repeated cervical rotation, which accumulates over a full workday. If both monitors receive equal use, position them symmetrically on either side of center.
If you wear progressive lenses (bifocals), the standard monitor height advice is wrong for you. Progressive lens wearers typically tilt the head back to use the reading portion of the lens, which means the monitor may need to sit lower than eye level. Experiment — your neck position while reading is the variable to optimize, not the screen height itself.
Keyboard and Mouse Placement
Keyboard: Position the keyboard so that your elbows are at approximately 90° and your wrists are neutral — neither extended (bent back) nor flexed (bent forward) when typing. Wrist rests are not for typing on; they are for resting during pauses. Typing on a wrist rest elevates the carpal tunnel and is a common contributor to forearm problems.
Mouse: Keep the mouse as close to the keyboard as possible so that you do not have to reach to the right with a straight arm to use it. Reaching the mouse outward creates a constant isometric load through the shoulder and upper trapezius that accumulates into neck and upper back pain. A compact keyboard without a numeric keypad allows the mouse to sit much closer.
Laptop-only setups: A laptop on a desk is ergonomically incompatible with good posture. When the screen is at the right height, the keyboard is too high; when the keyboard is right, the screen is too low. Use an external keyboard and mouse, and raise the laptop on a stand to eye level.
The single most damaging laptop posture is the laptop flat on a low coffee table while you sit on the floor or a low sofa. This combines lumbar flexion, thoracic rounding, and cervical flexion into a sustained position that loads the posterior disc annulus while stretching the posterior ligaments. A flare-up within days is a predictable outcome for anyone with active disc pathology.
The Movement Protocol
No static setup eliminates the problem of sustained loading. The tissue fatigues regardless. The solution is scheduled micro-disruption of the loading pattern.
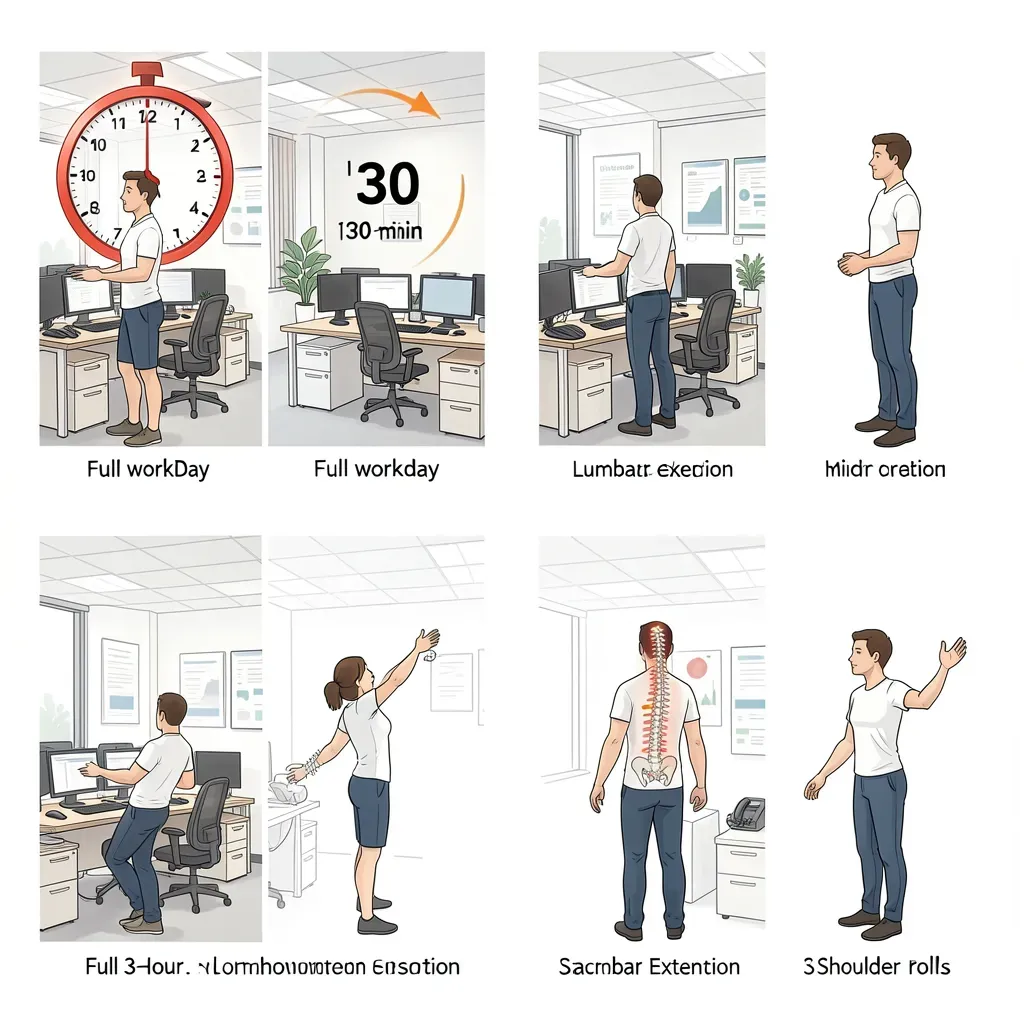
The 30-minute rule: Every 30 minutes, stand up. Walk to the water cooler, to the printer, or simply stand for 90 seconds. Sitting for 2-3 hours without standing is enough to produce measurable changes in disc hydration and ligament creep, reducing spinal stability for the remainder of the session.
The posture reset: Beyond standing, the posture reset targets the specific deformity produced by sustained sitting — anterior pelvic tilt loss and thoracic kyphosis increase. The reset takes 20 seconds: stand, place hands on your lower back, and perform 5 slow lumbar extensions (gentle backward lean). This reverses the load direction and restores fluid distribution within the disc.
The 20-20-20 extended: The classic 20-20-20 rule (look at something 20 feet away for 20 seconds every 20 minutes) is a good trigger. When you do it, also roll your shoulders backward twice and perform a chin tuck. These microbreaks are zero cost and interrupt the slow accumulation of forward head posture.
Standing Desks: The Right Way to Use Them
Standing desks reduce sitting time but introduce their own problems if used incorrectly. Static standing on hard floors produces its own fatigue pattern and can aggravate stenosis and spondylolisthesis.
Alternating ratio: Aim for a 50/50 ratio of sitting and standing over a workday, or roughly 20-30 minutes of standing per hour. Transitioning every 30-45 minutes is more effective than standing for 2 hours straight.
Anti-fatigue mat: Mandatory for standing desk users on hard floors. The slight instability produced by these mats triggers low-level muscle activation in the lower limbs and reduces static loading.
Footrest bar: Alternating one foot on a low footrest bar (approximately 15-20 cm) while standing flexes the hip on one side and reduces lumbar lordosis hypermobility at the standing position. This is the same technique bartenders and surgeons use to manage prolonged standing.
In Review
- Set chair height so feet are flat on the floor and thighs are parallel — use a footrest if needed.
- Place lumbar support at belt level, not mid-back. Test with your hand.
- Raise the monitor so the top of the screen is at eye level; distance should be arm's length.
- Keep the mouse as close to the keyboard as possible to eliminate constant shoulder reach.
- Never use a laptop flat on a desk without an external keyboard, mouse, and monitor riser.
- Stand up every 30 minutes — even 90 seconds of standing interrupts cumulative disc loading.
- Standing desk users should alternate sitting and standing in roughly 30-minute blocks; use an anti-fatigue mat.