Building Resilience: The Full Program
Assembling the complete recovery program — from pain elimination through progressive loading to full functional capacity.
The Recovery Stages
Recovery is not a single step. It follows a predictable progression:
Stage 1: Eliminate the cause of pain → pain-free postures and movement Stage 2: Build a stable foundation → Big 3 + walking + hip mobility Stage 3: Expand capacity → progressive loading with functional movements Stage 4: Return to full activity → sport-specific or work-specific training
You cannot skip stages. Each builds on the previous. Jumping to Stage 3 before mastering Stage 2 is the number one reason people re-injure.
The biggest predictor of re-injury is impatience. If you have a good day, the temptation is to "test" your back with something aggressive. Don't. A good day means the program is working — not that you're cured.
Stage 1: Pain Elimination (Weeks 1-2)
Daily Protocol
- Morning: Tummy lie drill (restore lordosis after sleeping)
- All day: Spine hygiene — use the three movement tools for every task
- Every 50 minutes: Stand, walk, reset posture
- Evening: Gentle cat-camel (7-8 cycles) + tummy lie before bed
Goals
- Identify and eliminate ALL pain triggers
- Find 2-3 pain-relieving postures you can use anywhere
- Build the habit of spine-awareness during every activity
- Reduce pain from constant to intermittent to rare
When to Progress
Move to Stage 2 when you can perform basic daily activities (sitting, standing, walking short distances) without triggering pain for 3 consecutive days.
Stage 2: Foundation Building (Weeks 2-6)
Daily Protocol
- Morning: Tummy lie (2-3 minutes) + Cat-camel (7-8 cycles)
- Exercise session: Big 3 (6-4-2) + Walking program + Hip routine
- All day: Spine hygiene maintained
- Evening: Gentle walking + cat-camel before bed
The Complete Session
| Exercise | Sets × Reps | Hold | Notes | |----------|-------------|------|-------| | Cat-Camel | 1 × 7-8 | Flowing | Warm-up only | | Modified Curl-Up | 6, 4, 2 | 10 sec | Switch legs halfway | | Side Bridge (L) | 6, 4, 2 | 10 sec | From knees if needed | | Side Bridge (R) | 6, 4, 2 | 10 sec | Match left side | | Bird-Dog (L/R) | 6, 4, 2 | 10 sec | Alternate sides | | Hip Airplane | 3 × 5 | 3 sec | Each side | | Clamshell | 3 × 10 | 2 sec | Each side | | Back Bridge | 3 × 6-8 | 10 sec | Progress to marching | | Lunge Stretch | 2 × 1 | 20-30 sec | Each side | | Walking | Intervals | — | Per walking program |
Total time: 25-35 minutes + walking
Goals
- Build endurance in stabilizing muscles
- Establish daily exercise habit
- Progressive increase in walking duration
- Restore basic hip mobility
When to Progress
Move to Stage 3 when you can:
- Perform the full Big 3 at 8-6-4 without pain
- Walk 20+ minutes continuously
- Perform all daily tasks pain-free
- Go 2+ weeks without a flare-up
Stage 3: Expanding Capacity (Weeks 6-12)
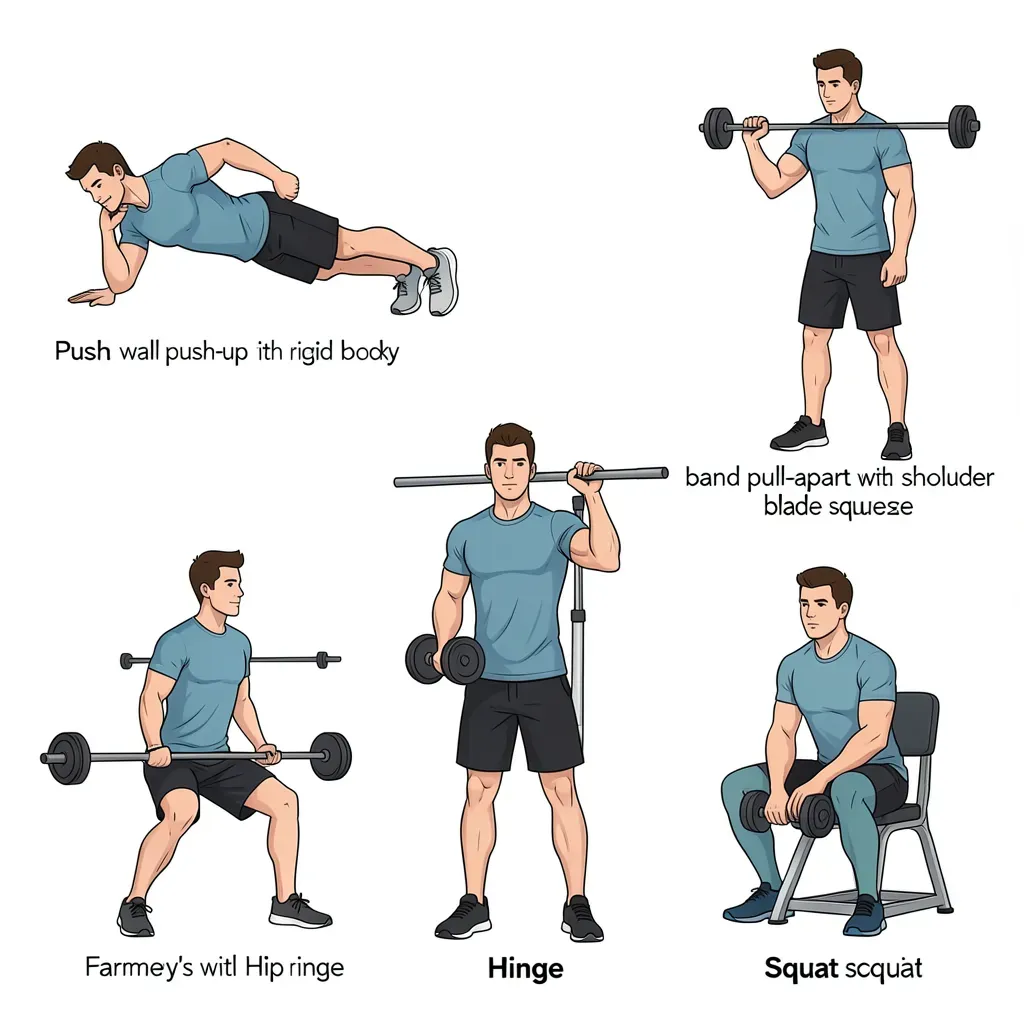
Now you add functional movement patterns under progressive load. These are NOT gym exercises — they are strengthened versions of daily movements.
Push Pattern
Wall Push-Up → Incline Push-Up → Floor Push-Up
- Start with hands on wall, feet 2 feet back
- Brace the core — your body is a rigid plank
- Lower chest to wall/surface, push back
- The spine does NOT move throughout
Progress to lower surfaces (counter → chair → floor) as strength builds.
Key: If your back sags or arches during the push-up, you've progressed too fast. Drop back to a higher surface.
Pull Pattern
Band Pull-Apart → Inverted Row → Cable Row
- Hold a resistance band at chest height, arms extended
- Pull the band apart by squeezing shoulder blades together
- Return slowly
- Core braced throughout — no leaning back
Progress to inverted rows (body under a table or bar) when band pull-aparts are easy at heavy resistance.
Carry Pattern
Farmer's Walk → Suitcase Carry → Rack Carry
- Hold a moderate weight in each hand (start light: 5-10 lbs)
- Walk with perfect posture — upright, braced, no leaning
- 30-second carries, rest, repeat
Progress to single-hand (suitcase carry) which challenges lateral stability, then to front-rack position.
The farmer's walk is possibly the single best exercise for building real-world back resilience. It trains the core to stabilize under load while walking — exactly what your spine does all day. Start light and progress slowly.
Hinge Pattern
Hip Hinge → Romanian Deadlift → Conventional Deadlift
- Practice the hip hinge with a dowel on your back (touching head, mid-back, and tailbone)
- Add a light weight (kettlebell or dumbbell) held close to body
- Hinge at hips, weight slides down the thighs
- Return by "pulling hips forward"
NEVER round your back under load. If you cannot maintain a neutral spine, the weight is too heavy. Drop it by 50% and rebuild. Perfect form at low weight is infinitely more valuable than heavy weight with compensation.
Squat Pattern
Chair Squat → Goblet Squat → Back Squat
- Squat to a chair (hover, don't crash down), stand back up
- Progress to holding a light weight at chest (goblet position)
- Only advance to barbell once goblet squat is perfect and pain-free at moderate load
Stage 4: Return to Activity (Weeks 12+)
Sport-Specific Preparation
Before returning to your sport or demanding activity:
- Can you perform the movement pattern pain-free without load? If not, stay in Stage 3.
- Can you do it with light load? Progress the load gradually.
- Can you sustain it for the required duration? Build endurance at moderate load before going heavy.
- Can you do it when fatigued? Train at the end of a session when form is most likely to break.
The Return Protocol
- Week 1: 25% of previous intensity/volume
- Week 2: 50% if no pain
- Week 3: 75% if no pain
- Week 4: Full return if no pain
If pain returns at any stage, drop back one level for another week.
Maintenance (Forever)
Even after full recovery:
- Big 3 daily (can reduce to 4-3-2)
- Walk 30 minutes daily
- Hip mobility 3× per week
- Spine hygiene always — this never stops
The Big 3 and spine hygiene are lifetime practices. Athletes who returned to elite sport after disc injuries report that they never stopped their daily maintenance routine. The ones who stopped are the ones who got re-injured.
Programming Rules
- Never train through pain. Pain = wrong exercise, wrong form, or too much volume.
- Endurance before strength. Higher reps, lower load, longer holds — always.
- Quality over quantity. 5 perfect reps beat 20 sloppy ones.
- Progress one variable at a time. Add reps OR add load OR add duration — never all three.
- Rest is part of training. Tissues strengthen during recovery, not during exercise.
- Bad days happen. If you wake up sore, scale back to Stage 2 for that day. Don't force Stage 3.
Sample Weekly Schedule (Stage 3)
| Day | Session | |-----|---------| | Mon | Big 3 + Push + Pull + Walk | | Tue | Big 3 + Hips + Walk | | Wed | Big 3 + Carry + Squat + Walk | | Thu | Big 3 + Hips + Walk | | Fri | Big 3 + Push + Hinge + Walk | | Sat | Big 3 + Walk (longer) | | Sun | Walk only (active recovery) |
The Big 3 and walking appear daily. Everything else rotates. Total training time: 30-45 minutes per day.