Restoring the Hips
Targeted hip mobility and strength exercises that take load off the spine by restoring full motion to the ball-and-socket joints designed for movement.
Why Hips Matter for Back Pain
Your hips are ball-and-socket joints designed for large ranges of motion. When they become stiff or weak, your spine compensates by moving more. This extra spinal motion — especially under load — is what damages discs and irritates nerves.
Restoring hip mobility and strength is NOT optional. It's a direct path to reducing spinal load.
Every degree of hip mobility you gain is a degree of motion your spine no longer has to provide. Tight hips don't just limit your flexibility — they actively injure your back.
The Hip Mobility Tests
Before starting exercises, identify your deficits:
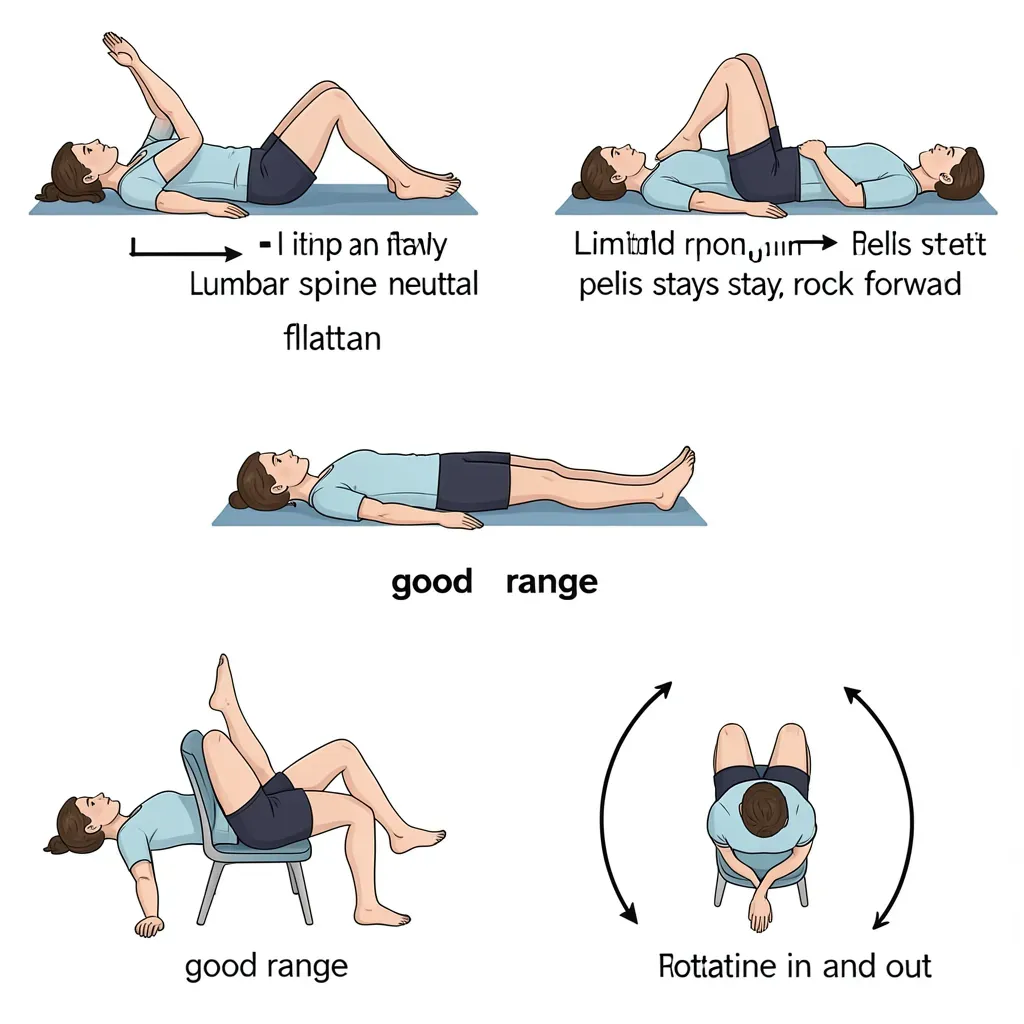
Test 1: Hip Flexion Lie on your back, pull one knee toward your chest (holding behind the knee). If it doesn't reach close to your chest without your low back flattening, you have limited hip flexion.
Test 2: Hip Extension Lie face-down. Lift one straight leg behind you (glute squeeze). If you can't lift it 10-15 degrees without your pelvis rolling forward or your back arching, you have limited hip extension.
Test 3: Hip Internal/External Rotation Sit on a chair edge with knee at 90 degrees. Rotate your foot outward (internal rotation of hip) and inward (external rotation). Compare sides. Asymmetry indicates tightness that will force rotation into your spine.
Exercise 1: The Hip Airplane
This exercise builds hip strength and motor control simultaneously. It targets the gluteus medius — the muscle responsible for keeping your pelvis level during single-leg activities (walking, stairs).
Setup
- Stand on one leg, other knee lifted slightly
- Hands on hips (to feel if the pelvis is rotating)
- Slight bend in the standing knee
- Mild abdominal brace
Execution
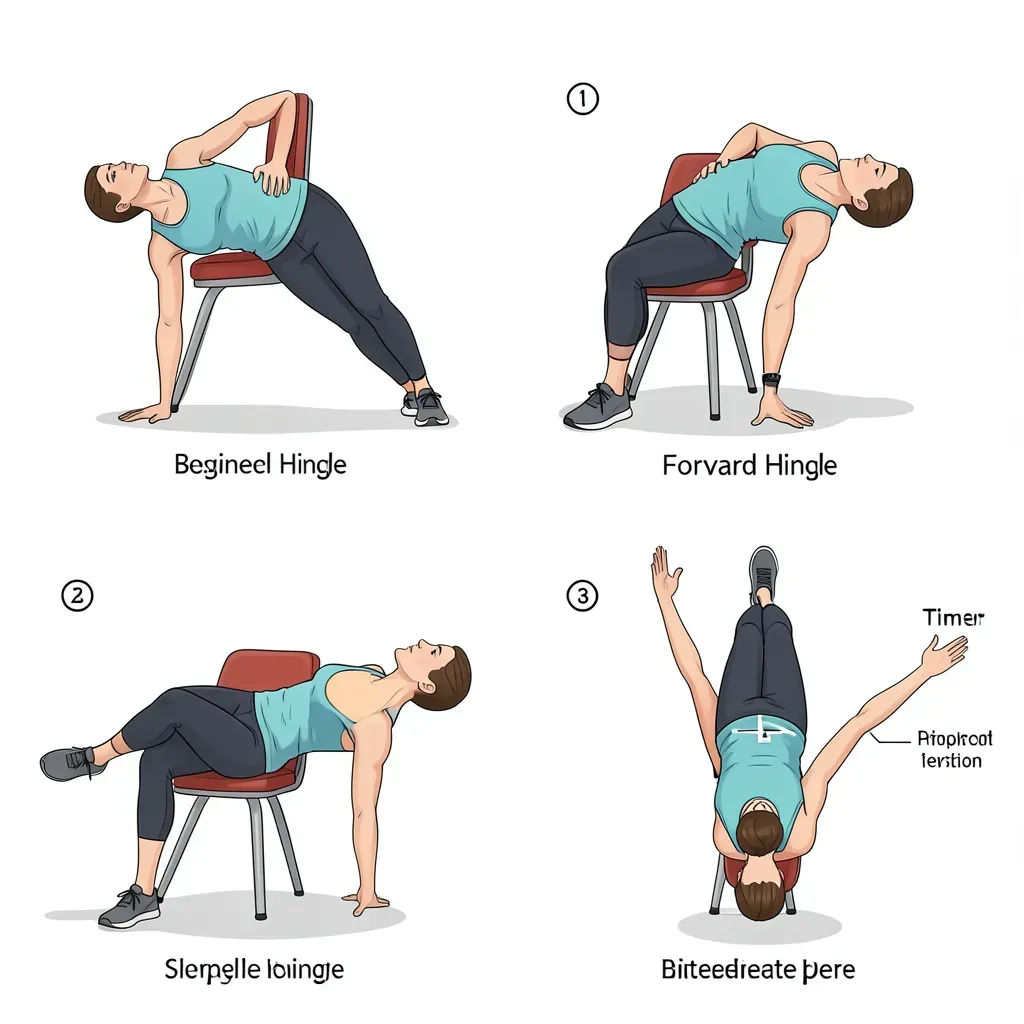
- Hinge forward at the hip, extending the free leg behind you (like a single-leg deadlift)
- Once in position, slowly rotate the pelvis OPEN (toward the lifted-leg side)
- Then slowly rotate the pelvis CLOSED (toward the standing-leg side)
- Think of your pelvis as a propeller — you're tilting it side to side
- Return to upright. That's one rep.
Progressions
- Beginner: Fingertips on a wall or chair for balance
- Intermediate: Hands on hips, free-standing
- Advanced: Arms extended overhead
Sets/Reps: 3 sets of 5 each side. Hold each rotation for 3 seconds.
Exercise 2: The Clamshell
This targets the deep hip external rotators and gluteus medius — muscles that degenerate in people who sit all day.
Setup
- Lie on your side with knees bent at 45 degrees
- Hips stacked vertically
- Feet together, heels aligned with your spine
- Head resting on your bottom arm
Execution
- Keep feet together
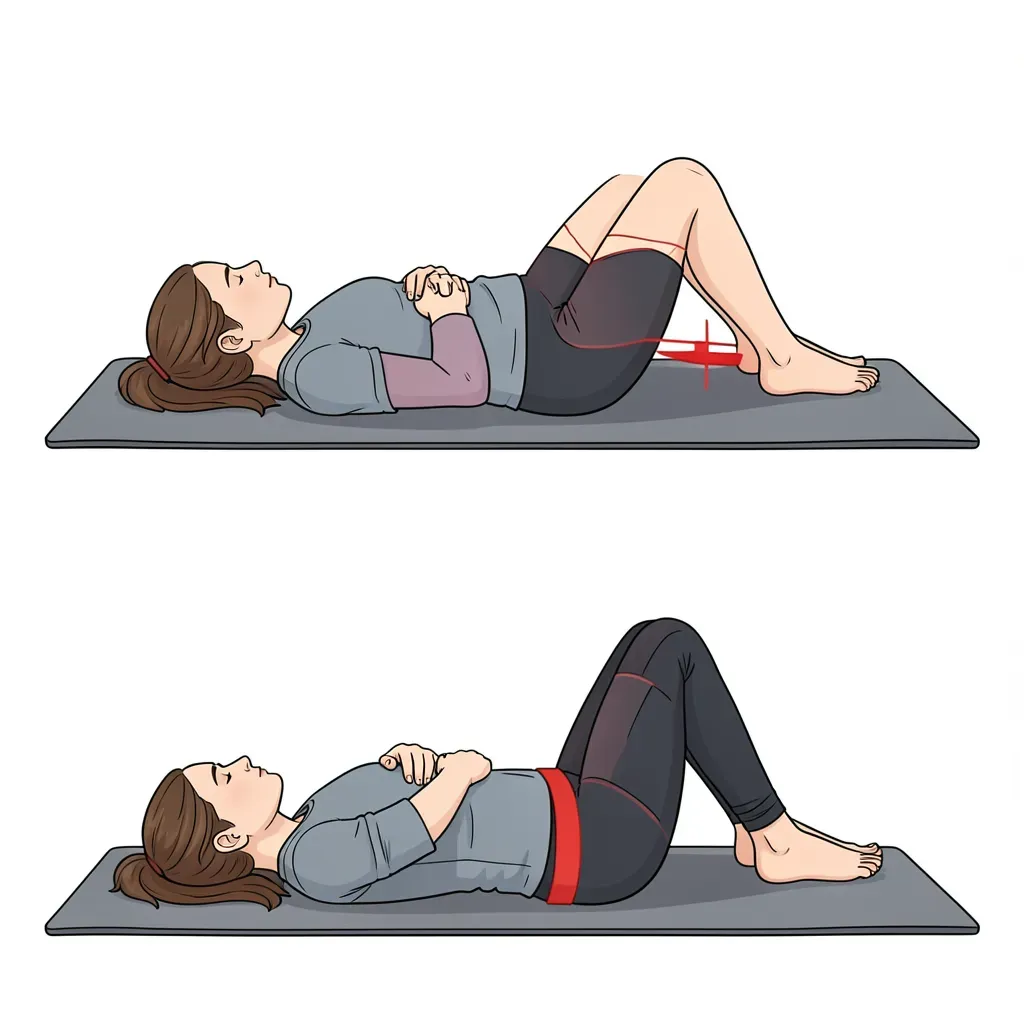
- Open the top knee toward the ceiling (like a clamshell opening)
- DO NOT roll the pelvis backward — the movement is ONLY at the hip joint
- Open to your maximum pain-free range
- Hold 2 seconds at the top. Lower slowly.
The Pelvis Rule
Place your top hand on your pelvis. If you feel it rolling backward as you open the knee, you've gone too far. Reduce the range until the pelvis stays perfectly still.
Progressions
- Beginner: No resistance, focus on pelvis control
- Intermediate: Light resistance band around knees
- Advanced: Band + hold at top for 5 seconds
Sets/Reps: 3 sets of 10 each side.
Exercise 3: The Back Bridge (Hip Extension)
This builds the gluteus maximus — the most powerful hip extensor. Strong glutes mean your back doesn't have to do the work of extending the hip during walking, climbing, and lifting.
Setup
- Lie on your back, knees bent, feet flat on floor
- Feet hip-width apart, close enough that you can touch your heels with fingertips
- Arms at your sides, palms down
Execution
- Engage the abdominal brace (lock the spine in neutral)
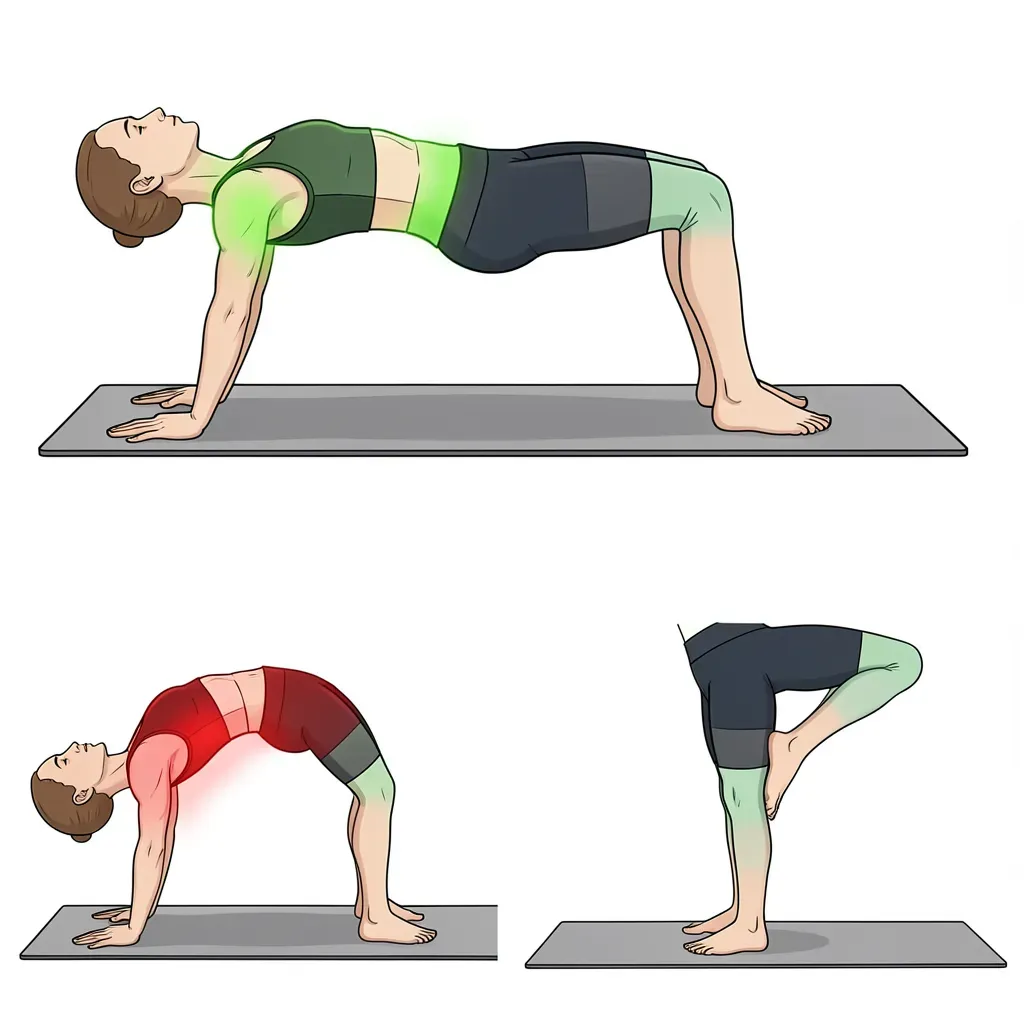
- Squeeze your glutes and lift your hips toward the ceiling
- Push through your HEELS (not toes)
- Rise until your body forms a straight line from shoulders to knees
- Hold 10 seconds at the top. Lower slowly.
Critical Points
- The movement comes from the HIPS, not the back arching
- If you feel this in your low back more than your glutes, you're extending through the spine
- Keep ribs connected to pelvis (don't flare the ribs at the top)
- Squeeze the glutes HARD at the top
Progressions
- Beginner: Two-leg bridge, 10-second holds
- Intermediate: March at the top (alternately lift feet 1 inch off the floor)
- Advanced: Single-leg bridge (one foot extended, drive through one heel)
Sets/Reps: 3 sets of 6-8, each held for 10 seconds.
Exercise 4: The Lunge Stretch (Hip Flexor)
Tight hip flexors pull the pelvis forward, increasing lumbar extension stress. This targets the psoas and rectus femoris.
Setup
- Kneel on one knee (place a folded towel under the knee for comfort)
- Front foot flat, knee at 90 degrees
- Torso upright, mild abdominal brace
Execution
- Tuck your pelvis slightly (posterior tilt) — this is KEY. Without the tuck, you'll stretch through your low back instead of the hip
- Shift weight gently forward until you feel a stretch in the FRONT of the back-leg hip
- Keep the torso upright — don't lean forward
- Hold for 20-30 seconds
- Switch sides
If you feel this stretch in your low back, you're doing it wrong. The pelvic tuck must come FIRST. Think of pointing your belt buckle upward before shifting forward. The stretch should be felt exclusively in the front of the hip/thigh of the kneeling leg.
The Hip Routine
Perform after your Big 3 session:
- Hip Airplane: 3 × 5 each side
- Clamshell: 3 × 10 each side
- Back Bridge: 3 × 6-8 (10-second holds)
- Lunge Stretch: 2 × 20-30 seconds each side
Total time: 8-10 minutes
Frequency: Daily, or at minimum every other day. Hip mobility is lost quickly without consistent practice.
Many patients notice significant pain reduction within 2-3 weeks of adding hip work to their program. The explanation is simple: when the hips move freely, the spine stops compensating. The tissues that were being overloaded can finally heal.
When Hips Need Professional Help
If hip exercises consistently cause groin pain, clicking, or locking, you may have a labral issue or hip impingement that needs assessment. These conditions are common in former athletes and can masquerade as "back pain" because of referred pain patterns.
Signs you need a hip assessment:
- Groin pain with deep flexion
- Clicking or catching in the hip joint
- Inability to sit with legs crossed
- Pain that wraps from hip to buttock
- Limping that you can't correct with technique alone